How to install TeamViewer 14 on Ubuntu 18.04/16.04
In this tutorial, I will show you how to install TeamViewer 14 on Ubuntu 18.04/16.04
Establish incoming and outgoing remote desktop and computer-to-computer connections for real-time support or access to files, networks, and programs. Collaborate online, participate in meetings, chat with other people or groups, and make video calls in one-click. After downloading and installing this software, you’ll have your first session up and running within seconds. Read more
Read Also: How to install Python 3 on Raspberry PI
Download Teamviewer 14 on Ubuntu 18.04/16.04
Firstly, we will download the TeamViewer package for Ubuntu using the wget command. Just execute the following command to download the package.
wget https://download.teamviewer.com/download/linux/teamviewer_amd64.deb
Read Also: How to install postgresql 10 beta 3 on CentOS 7
Install Teamviewer 14 on Ubuntu 18.04/16.04
Now We have already downloaded TeamViewer now it’s time to install it. You need to install some dependencies for TeamViewer so just execute the following command to install it with dependencies.
sudo apt-get -f install ./teamviewer_amd64.deb
Start TeamViewer
Now we can start TeamViewer by executing following command on terminal.
$ teamviewer
Init...
CheckCPU: SSE2 support: yes
XRandRWait: No value set. Using default.
XRandRWait: Started by user.
Checking setup...
Launching TeamViewer ...
Launching TeamViewer GUI ...
Accept the License Agreement.
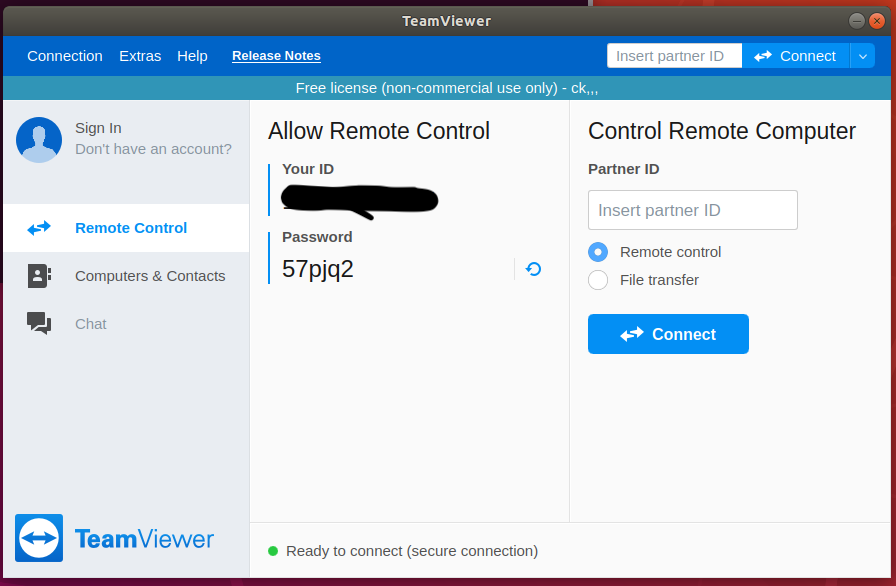
Here we go. Now you can access or provide access to your system to someone.
If you have issues using this tutorial please feel free to comment below.
Read Also: Postgresql Tutorials


i have issuse in my teamviewer. My Screen are not show to other teamviewer person. I have installed team viewer 15.53